Getting Started
This is offical RTX SDK Documentation for developers
Visual studio instalation
Download Visual Studio version 2019 or above.
Visual studio installer
- Workloads:

- Individual components:

Starter template
You can use our starter template or create manually a plugin from scratch. To start from our starter template simply clone this repository -- REPO --
git clone --REPO-- PluginTemplate.git
cd PluginTemplate
git submodule init
git submodule update --remote --merge
After cloning this repository, simply open the project and you're set up and ready to code your first awesome plugin!
Creating first plugin
Info
It is higly recomended to use our Starter template for simplifying the process of setting up the visual studio project.
Before creating project in visual studio we recommend you to first init repository and specify project Location as git path while creating project.
Open visual studio and click create a new project

Select C++ and Dynamic-Link Library (DLL)

Click Next set Project name then click Create
Project settings
Make sure you have Release x64 selected.

Click right click on project -> Properties
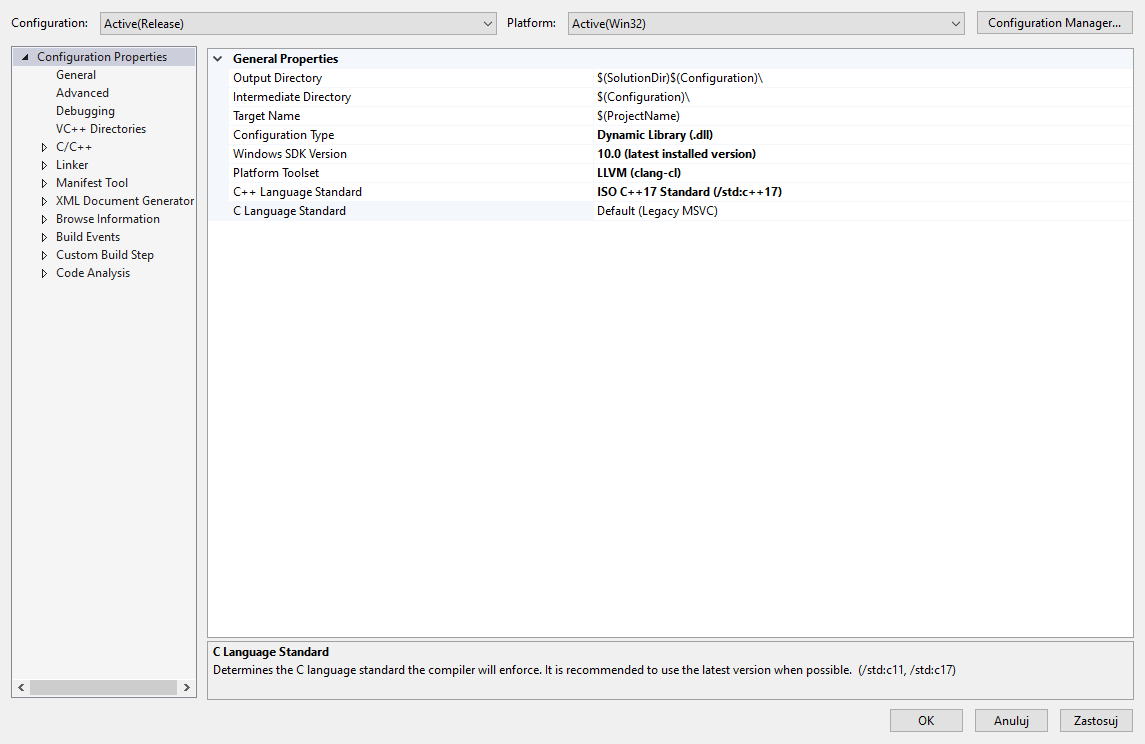
General
- Configuration Type: Dynamic Library (.dll)
- Windows SDK Version: 10. *
- Platofrm Toolset: LLVM (clang-cl)
- C++ Language Standard: ISO C++ 17 Standard (/std:c++17)
C/C++
- Preprocessor
- Preprocessor Definitions: RTX;INTERNAL_CORE;
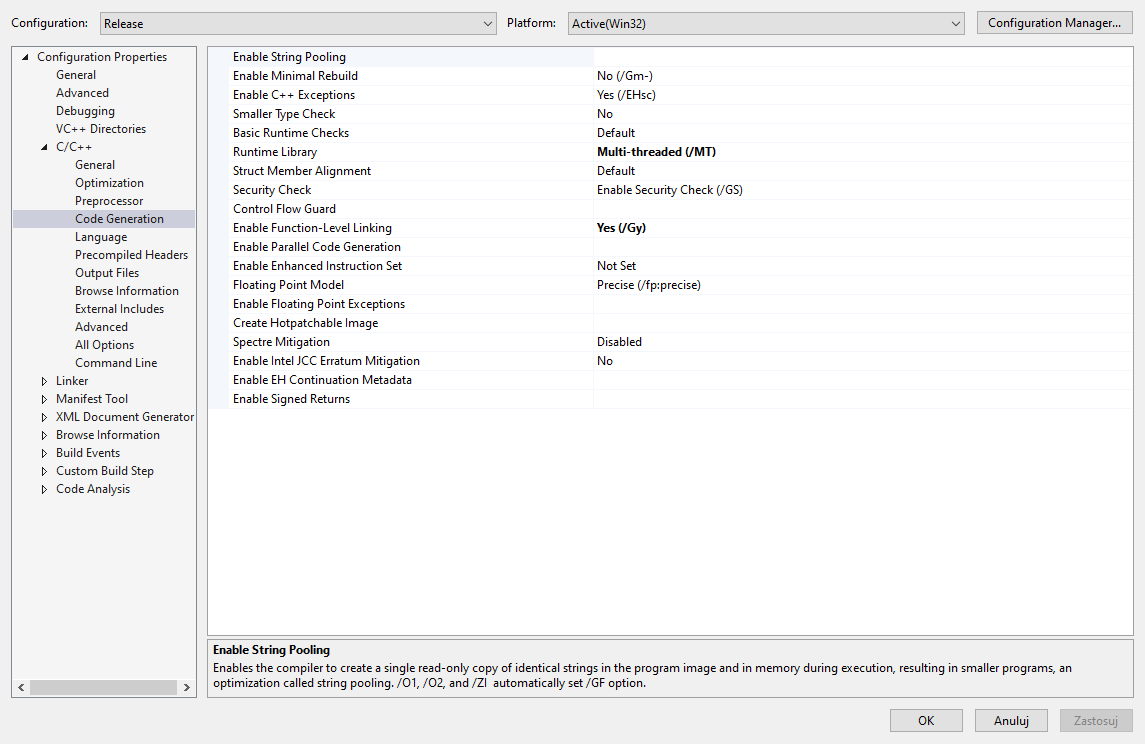
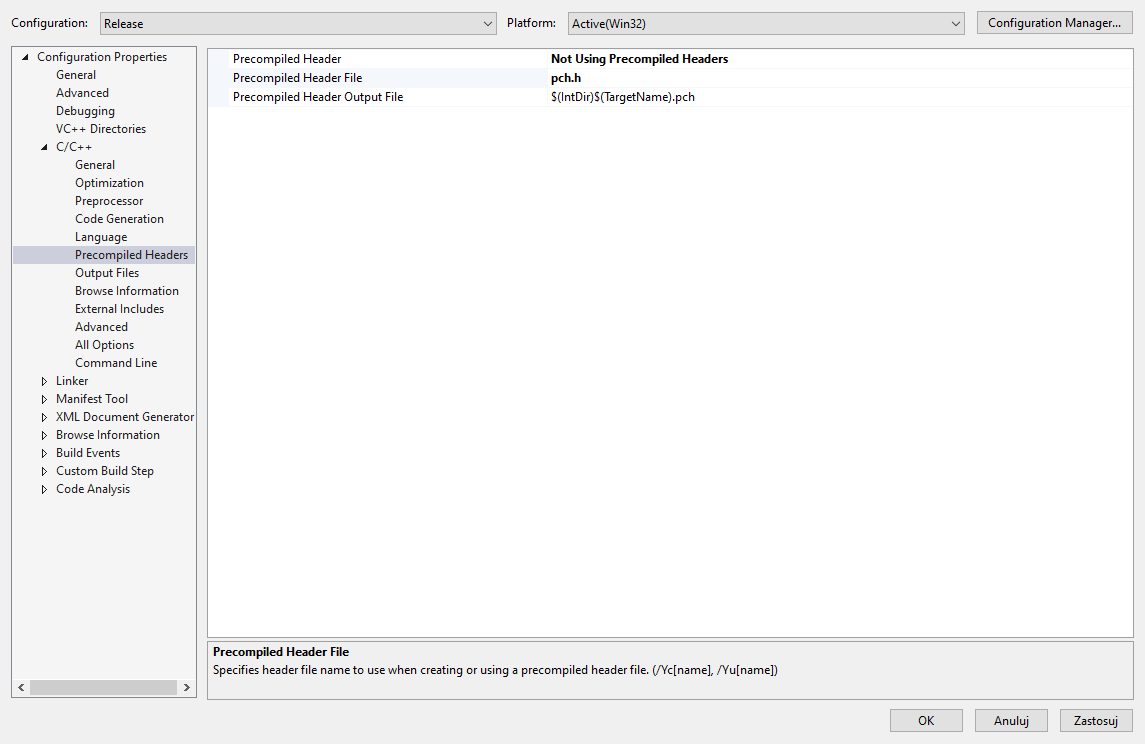
- Precompiled Headers
- Precompiled Header: Not Using Precompiled Headers
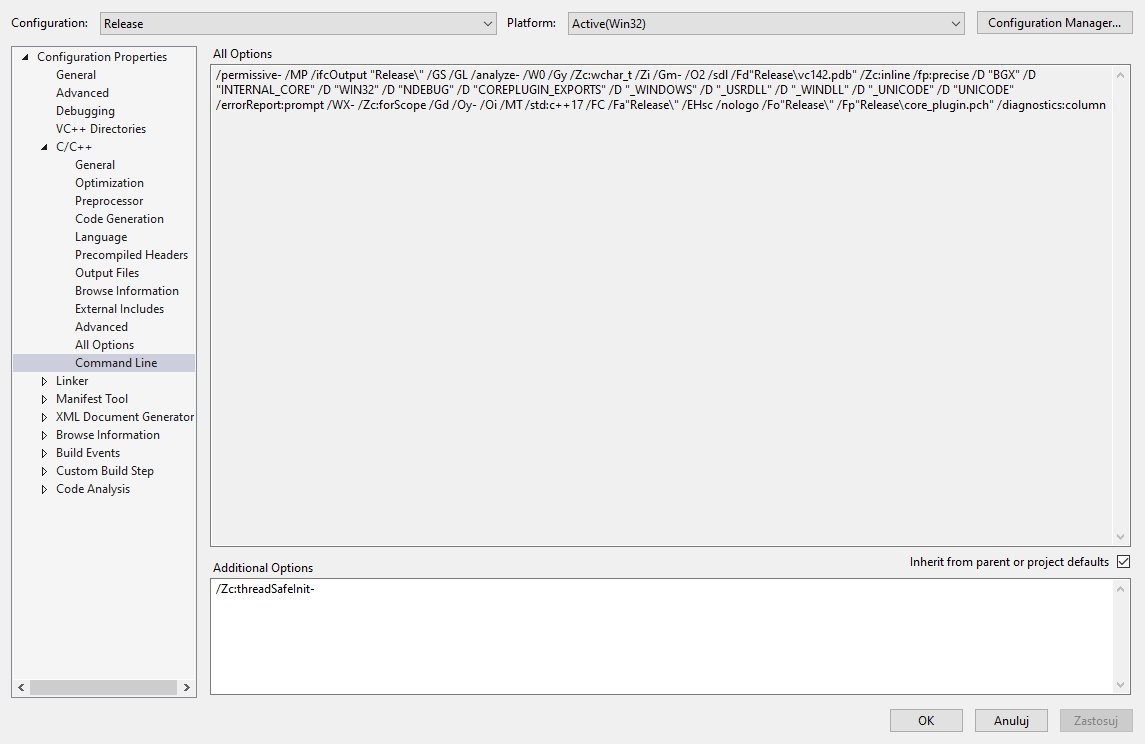
- Command Line
- Additional Options: /Zc:threadSafeInit-
Project files
You should remove all of files created by visual studio and leave only empty dllmain.cpp
BEFORE

AFTER

Including SDK
Download offical SDK from GITHUB or add it at submodule (recommended).
- Without git submodule
-
Create dir 'plugin_sdk' in solution directory then move all files from sdk repository.
-
With git submodule Recommended
- Open git console of your project
git submodule add https://github.com/RTXPOWER/SDK.git plugin_sdk
Here is simple dllmain.cpp ready to compile and run your test plugin